That means faster speed, better security, and less tech trouble. It also gives you expert support if anything goes wrong. It’s not just hosting; it’s like a full website toolbox.
Many bloggers, businesses, and creators love it for its simplicity. Even if you’re not tech-savvy, you’ll find it beginner-friendly. You don’t need to install extra tools or worry about setup.
In short, it’s perfect for anyone building a WordPress website. Let’s walk through the simple steps to get started on it. You’ll have your new site live in no time.
Step-by-Step Signup Process on WP Engine
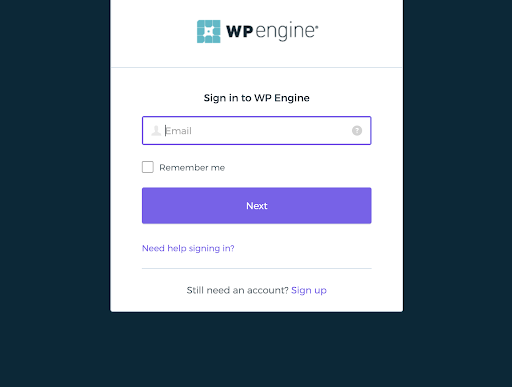
Getting started on WP Engine is fast and beginner-friendly. Here’s how you can complete the WP Engine sign up process.
Step 1: Visit the Website
Go to wpengine.com using your browser.
Step 2: Pick a Plan
Choose the plan that fits your website needs and budget.
Step 3: Fill in Your Info
Enter your name, email address, and billing information carefully.
Step 4: Create Your Account
Click the “Create Account” button to finish your setup.
That’s it! Your WP Engine account is now ready to go. This process is simple, even for complete beginners online.
Once you create WP Engine account, setup tools are available. You’ll also get access to support and your dashboard instantly.
Set Up WordPress on WP Engine
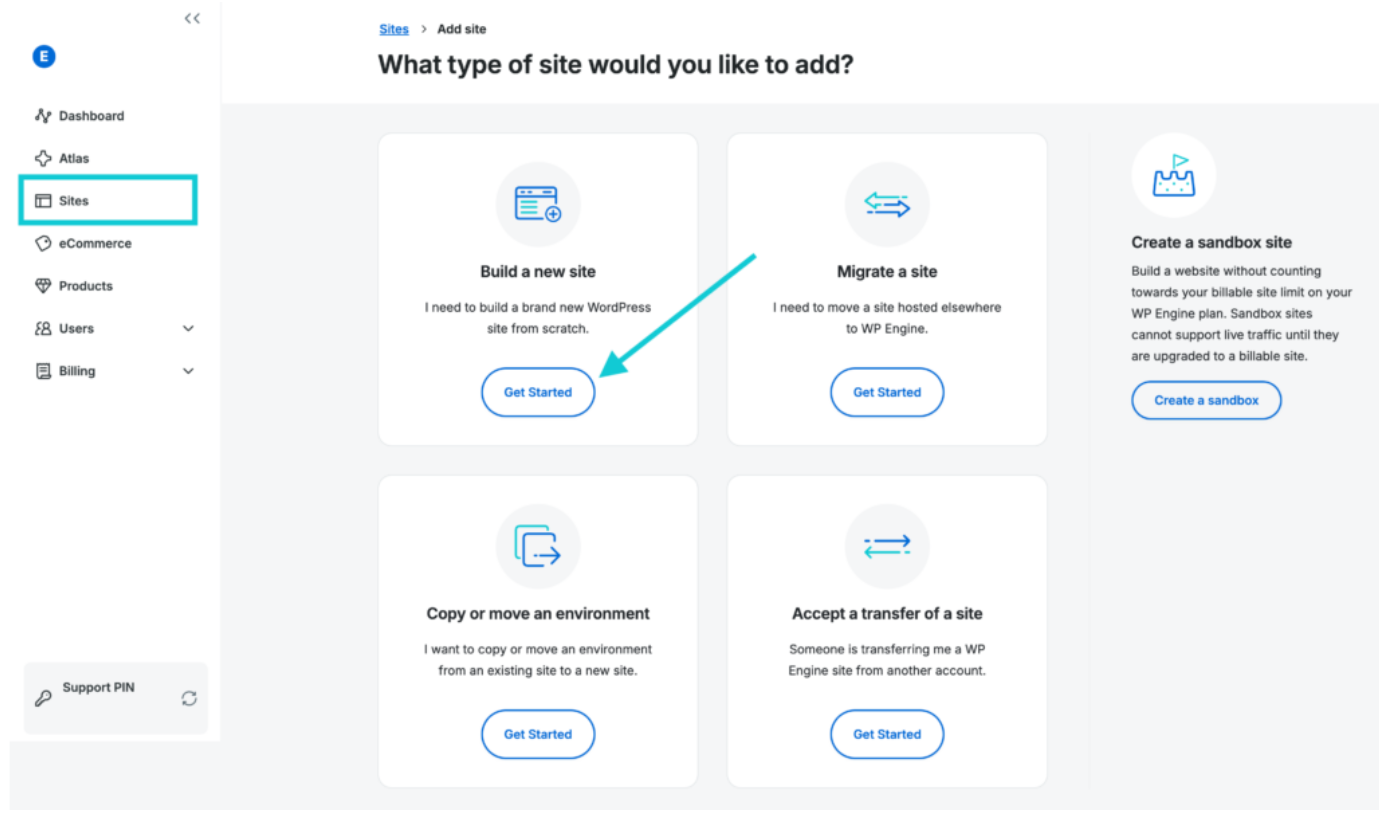
After signup, you can install WordPress WP Engine in minutes. Log in to your WP Engine dashboard using your email credentials.
Click on “Sites” in the menu to begin your setup. Then click “Add Site” to create your WordPress website. Give your site a name that fits your brand or topic.
Choose your environment (production, staging, or development as needed). WP Engine will now install WordPress automatically for your site.
Once done, you’ll get your WordPress login and site link. Use the link to log into your WordPress admin panel. Here you can design, add pages, and write blog posts.
No technical skills are needed: just follow the simple steps shown. You can also choose a theme and install useful plugins.
With WP Engine, your site is secure and loads super fast. Now you’re ready to build your site and publish content online!
Install Essential Themes and Plugins
After you are done with the WP Engine setup, it’s time to install some themes and plugins to add more power and abilities.
Choose and Install a Theme
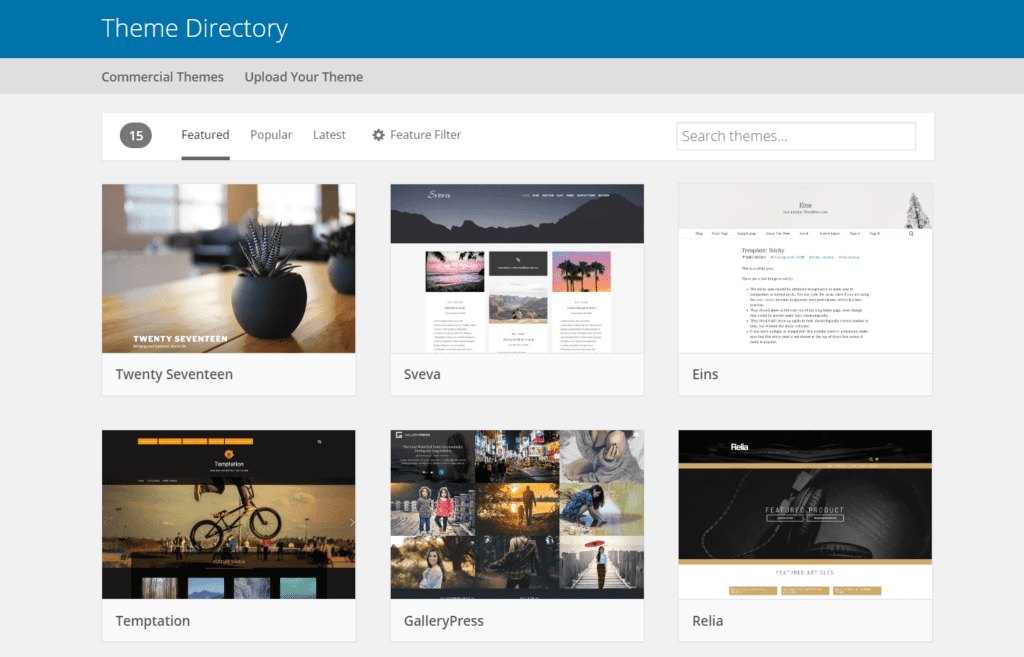
After setting up your site, it’s time to make it yours. Go to your WordPress dashboard and click “Appearance” then “Themes.” You’ll see free themes offered by WordPress in the library.
Choose a theme that fits your brand, topic, or business style. To install a theme, just hover and click the “Install” button. Then click “Activate” to apply it to your WordPress website.
Want a custom theme? Click “Upload Theme” and add your ZIP file. This gives you more control over the design and layout.
Install Must-Have Plugins
Now let’s add some useful plugins to boost your site’s features. From the dashboard, click “Plugins,” then “Add New” to begin.
Search for plugins like SEO tools, backup, or page builders. Click “Install” on any plugin you need, then click “Activate.”
Recommended Plugins to Start With
Some must-have WordPress plugins include Yoast SEO for search optimization. UpdraftPlus is great for automatic backups of your site’s data.
WPForms lets you add simple contact forms without any coding skills. Elementor helps design pages with drag-and-drop tools—super easy to use.
Pro Tips:
Each plugin adds helpful features to your site in minutes. Always keep plugins updated for better speed and site security. Too many plugins can slow things down, so choose carefully.

Make sure all pages and menus are working and looking good. Test your links, images, and forms to avoid visitor issues. Once everything looks great, you’re ready to go live confidently.
Share your website on social media, email, and with friends. Use Google Search Console to help get your site indexed faster. Congrats! Your website is now public and ready for the world.
![]()
Conclusion
Your site is now live, but your journey is just beginning. After website setup, you should start adding more useful pages right away.
Create an About Us page to tell people who you are. Add a Contact page so visitors can reach you easily anytime. You can also start a blog to share helpful posts regularly.
Blogging brings traffic and builds trust with your audience over time. Make sure your homepage is clear, simple, and easy to navigate. Add a services or product page if you sell anything online.
Customize your menus, so users can easily find all important pages. Don’t forget to install a form plugin for collecting user messages. Keep your content updated, so your site looks fresh.
Use clean designs, simple words, and images for a great look. Check how your website looks on different screen sizes. Test speed and make small changes to improve performance.
Use WP Engine’s support if you get stuck or need help. They have a great team and lots of helpful guides online. Visit for help with any WP Engine issue.
Now you’re ready to build a strong online presence with confidence.