With HostGator, you get reliable hosting, fast loading times, and helpful support. All you need is a hosting account and a domain name.
HostGator gives you both, along with free SSL and email. Once installed, WordPress gives you full control over your site design.
Throughout this guide, you’ll learn how to install WordPress, log in, and start customizing your site. Let’s get your new WordPress website up and running the easy way!
Pick the Right HostGator Plan for WordPress
HostGator offers several hosting plans, but not all suit WordPress. You can choose from Shared, Cloud, VPS, or WordPress Hosting plans.
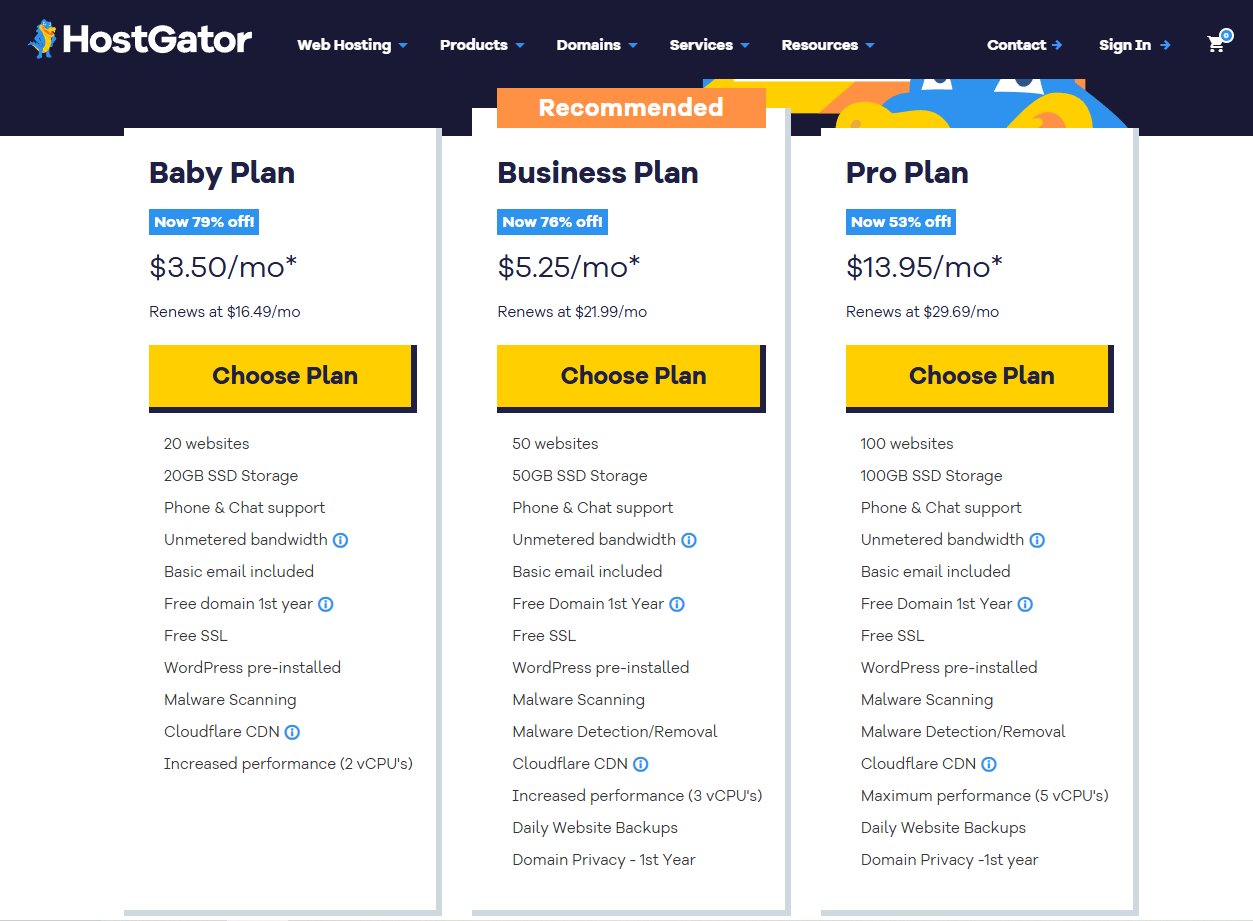
For most beginners, WordPress Hosting is the best option. It’s built specifically for WordPress users and comes fully optimized. You get faster speeds, better security, and automatic updates.
It also includes free SSL, a free domain for one year, and daily backups. Prices start at $3.50 per month, which is affordable. You also get access to HostGator’s 1-click WordPress installer.
If you’re just starting, Baby or Business plans work well. For bigger sites, go with the Pro plan. All plans include 24/7 support, which is helpful for beginners.
Buy the Hosting and Domain Together
Buying your hosting and domain at the same time saves effort. HostGator makes this process quick and beginner-friendly. Just follow these steps and you’ll be ready in minutes.
- Go to HostGator’s website and click on “Get Started”.
- Pick your WordPress Hosting plan that fits your site’s needs.
- Enter your desired domain name and check its availability.
- If it’s taken, try another name or choose a different extension.
Once your domain is set, continue with the checkout process. HostGator lets you choose how long you want the plan: monthly or yearly.
Fill in your billing info, then click “Checkout Now.” After payment, you’ll get a confirmation email with login details. You’re now ready to install WordPress and launch your site!
Log In to the HostGator Dashboard
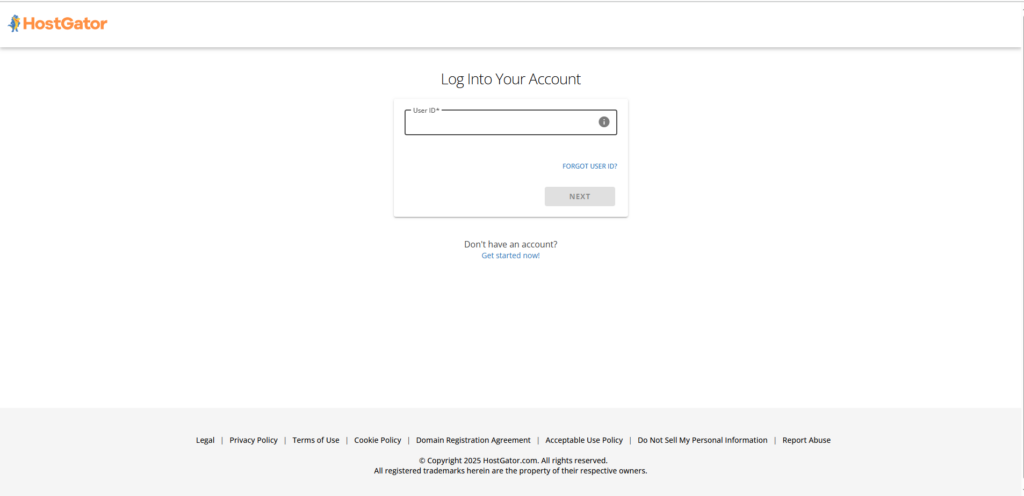
After buying your plan, HostGator sends a welcome email. This email includes your login link, username, and password. Click the link and enter your details to access the dashboard.
The HostGator dashboard is your control panel. It’s where you manage everything: websites, domains, billing, and support. It’s simple and beginner-friendly, with clear sections and icons.
Once inside the dashboard:
- Look for the “Hosting” tab at the top.
- Click it to view your active hosting account.
- Then click “Manage” to open your hosting details.
Here you’ll see options for emails, domains, and site installs. To install WordPress:
- Find the “One-Click Installs” section.
- Click on WordPress to begin setup.
- Choose your domain and click “Install Now.”
That’s it! The dashboard keeps everything in one place. You can check your site’s status, manage files, or contact support.
Install WordPress in One Click
HostGator makes installing WordPress quick and easy with one click. You don’t need to download anything or set up files manually.

Once you’re in the HostGator dashboard:
- Click on the “Hosting” tab at the top.
- Then click “Manage” on your active hosting account.
- Scroll down and find “One-Click Installs.”
- Click on WordPress from the list of options.
Next, you’ll be asked to choose your domain name. If your domain is already connected, select it from the dropdown.
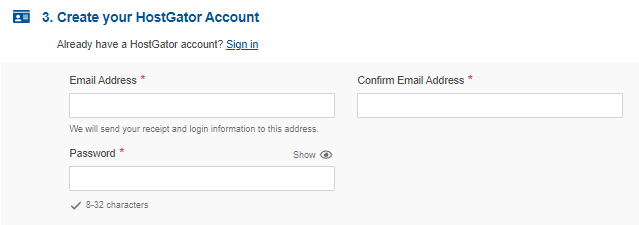
Leave the directory field empty to install on the main site. Enter a blog title, admin username, and a strong password. Add your email address for login details and recovery.
Click “Install” and let HostGator handle the rest. In a minute, WordPress will be installed on your domain. You’ll get a confirmation with your login link.

Set a Username and Password for WordPress
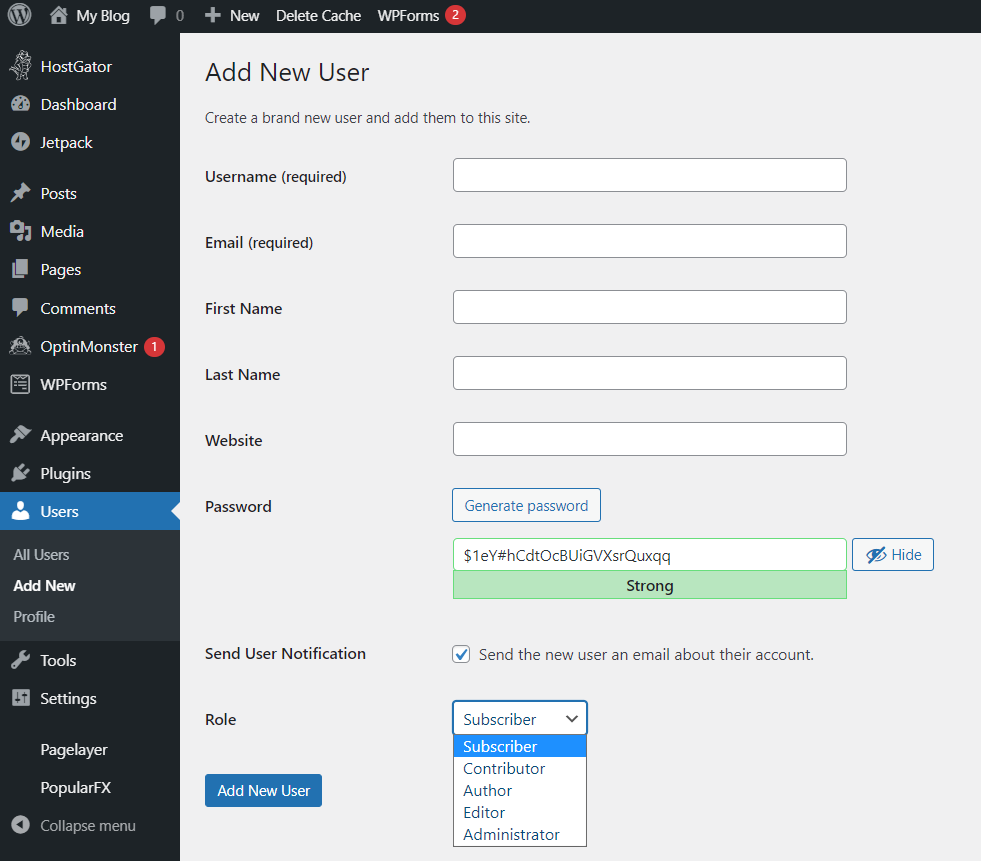
During installation, you’ll be asked to create a username and password. Choose a unique username that isn’t easy to guess.
Avoid using “admin” or your name. Pick a strong password with letters, numbers, and special characters. Here’s what to do:
- Enter your blog/site title.
- Type your desired username and password.
- Add your email for login help or password recovery.
Make sure to write them down or save them securely. After installation, you’ll use these details to log in to WordPress.
Log In to Your WordPress Website
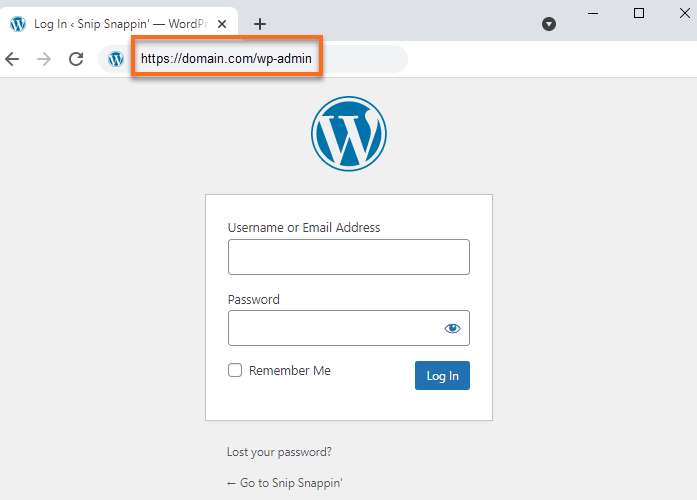
Once WordPress is installed, you’ll get a login link. Go to yourdomain.com/wp-admin in your browser. Enter the username and password you created earlier.
Click “Log In” and you’ll reach your WordPress dashboard. This is where you manage your site, pages, and settings. It’s your main control panel for editing and publishing content.
Bookmark the login link so you can find it easily later. Now you’re ready to build and customize your WordPress site.
Pick a Good-Looking Theme
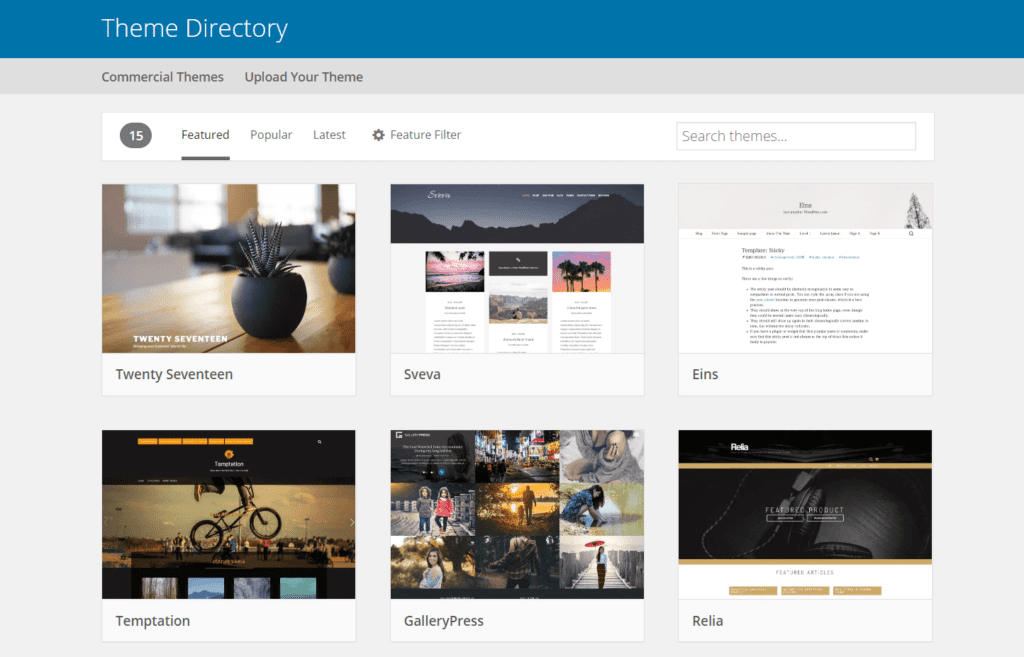
Your theme controls how your site looks and feels. WordPress offers thousands of free themes in its library. To pick one, go to Appearance > Themes in the dashboard.
Click “Add New” to browse free themes by category or style. Look for clean, responsive themes that match your website purpose. You can preview any theme before installing it.
Once you find one, click “Install” then “Activate.” Free themes are perfect for beginners starting from scratch. You can always switch themes later as your site grows.
Add Necessary Pages Like Home, About, Contact
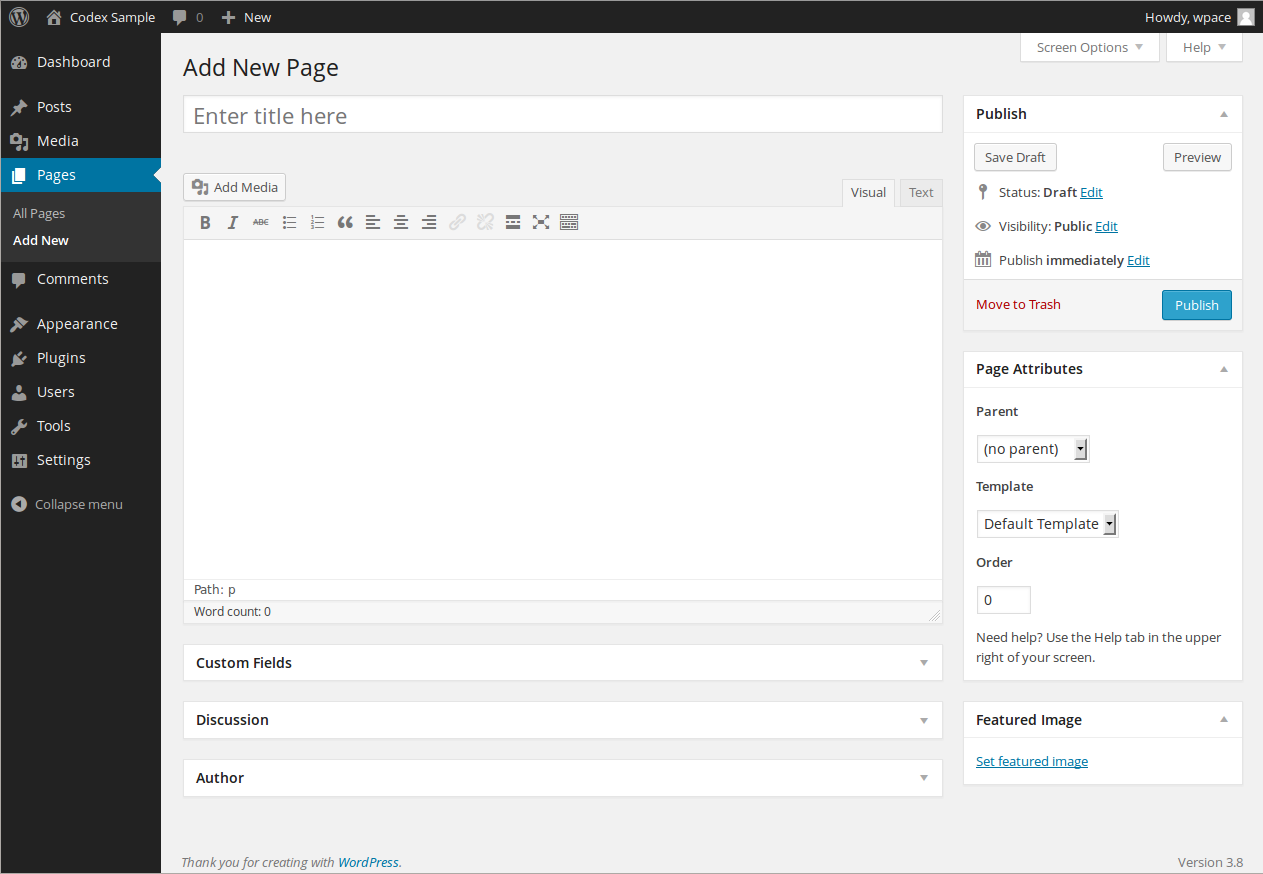
Pages give your site structure and help users navigate. To add a page, go to Pages > Add New on WordPress. Type your page title, like “Home” or “About Me.”
Add your content in the editor below the title. Click “Publish” when you’re done writing the page. Repeat the process for Contact or Services pages.
You can organize your pages using Menus under Appearance. Set your Homepage as the front page in Settings. Start with 3-4 basic pages, then expand as needed.
Install Must-Have Plugins
Plugins add extra features to your WordPress site. To install, go to Plugins > Add New in your dashboard. Search for plugins, then click “Install Now” and “Activate.”
Here are a few must-have beginner plugins:
- Yoast SEO: Helps improve your site’s search visibility.
- WPForms: Let’s you easily create contact forms.
- UpdraftPlus: Backs up your site for safety.
These plugins are free, simple to use, and very powerful. Only install plugins you truly need to keep your site fast.

Conclusion
To wrap it up, setting up a WordPress site on HostGator is easier than it looks. With one-click installs, free themes, and helpful tools, anyone can build a site.
Start with the right plan, install WordPress, and customize your site step by step. Add your pages, pick a good theme, and install helpful plugins.
You don’t need to be a tech expert to get started. Just follow the steps, and your new website will be live in no time.