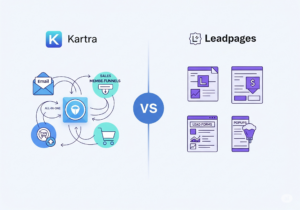

You get page builders, email tools, video hosting, and more features. Kartra lets you drip content, lock pages, and track member activity.
You can set up multiple membership levels with just a few clicks. It works well for beginners, coaches, and online course creators, too.
In this guide, we’ll show you how to create one step by step. You’ll have your own membership site ready to launch in no time.
Step 1: Log In to Your Kartra Account and Open Memberships
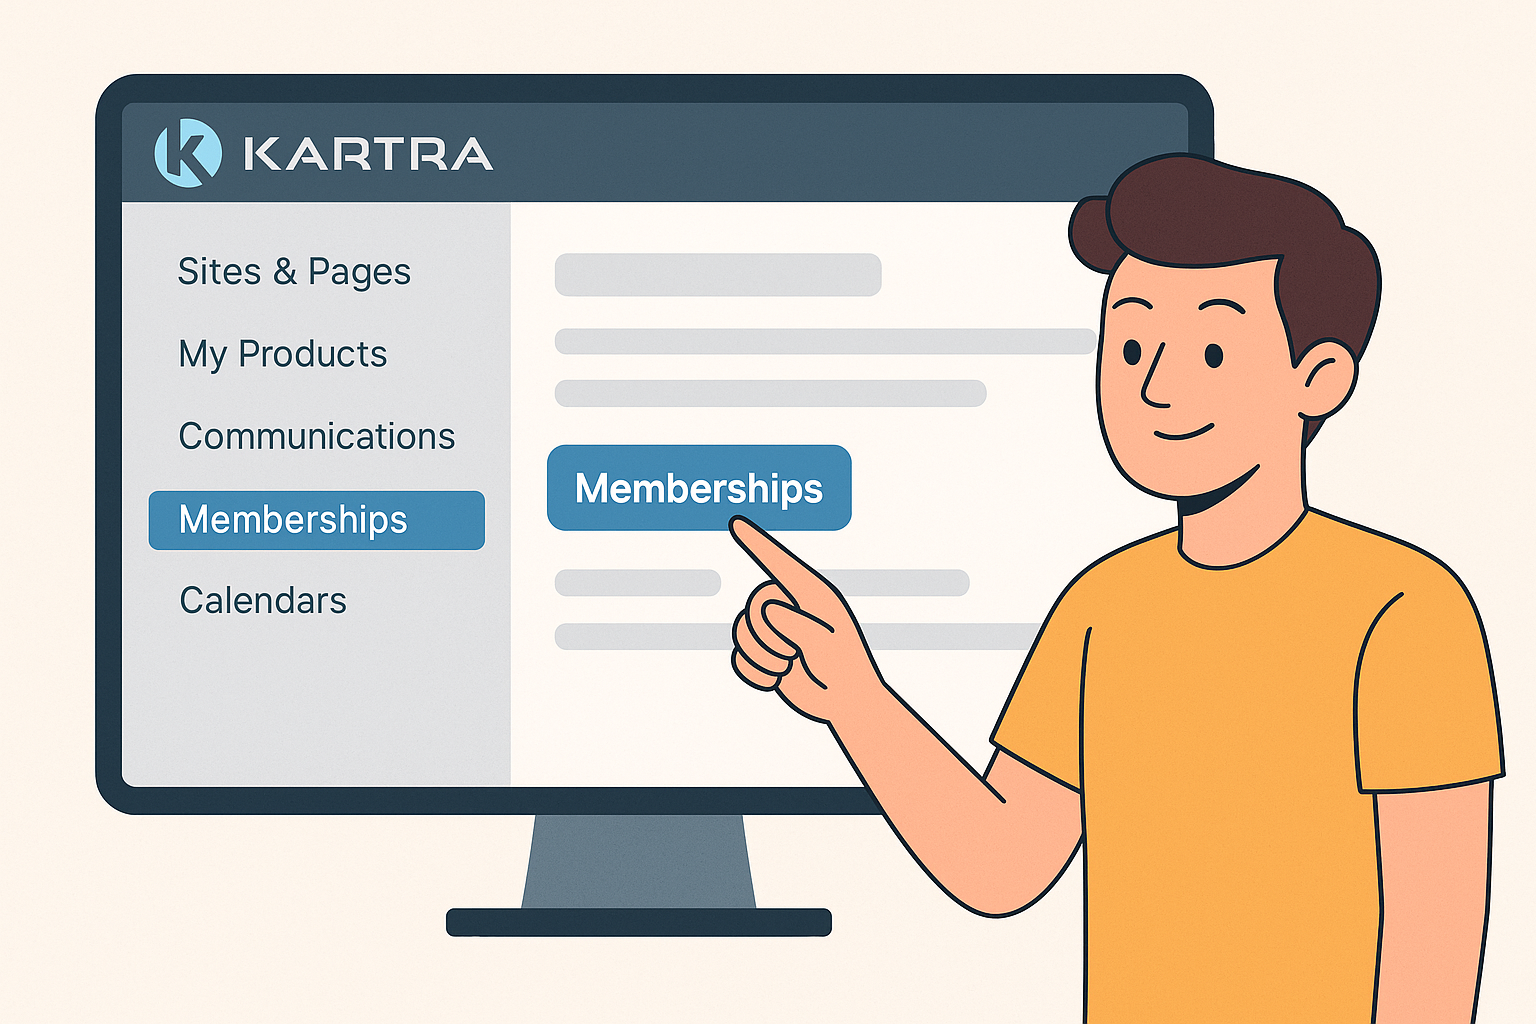
Start by logging in to your Kartra account using your email and password. Once inside the dashboard, look at the left-hand sidebar menu.
Find and click the tab labeled “Sites & Pages” to get started. Inside that, scroll down and locate the “Memberships” option in the list.
Click on “Memberships” and you’ll see your membership management dashboard appear. From here, you can create new memberships or edit existing ones.
Kartra keeps everything neatly organized in one simple layout. You don’t need to jump between tools or screens to set up. You can manage content, access levels, and member settings easily.
It’s beginner-friendly, so even first-time users won’t feel overwhelmed here. Make sure you’re ready with your content before moving to the next step.
Step 2: Create Your New Membership Site
After opening the Memberships section, click “+ Create New Membership.” Kartra will guide you step-by-step through setting everything up smoothly.
First, enter your basic membership site details:
- Name: Give your membership site a short and clear name.
- Tag: Create a short tag for internal use only.
- Description: Write a few words about what this site includes.
- Welcome Message: Add a short message that members will see after joining.
Next, set your access level and membership structure:
- Choose if the membership is Free or paid access.
- Set the number of levels (like Basic, Premium, etc.).
- Decide if the content is released all at once or gradually.
Finally, click Save & Next to move to the next step.
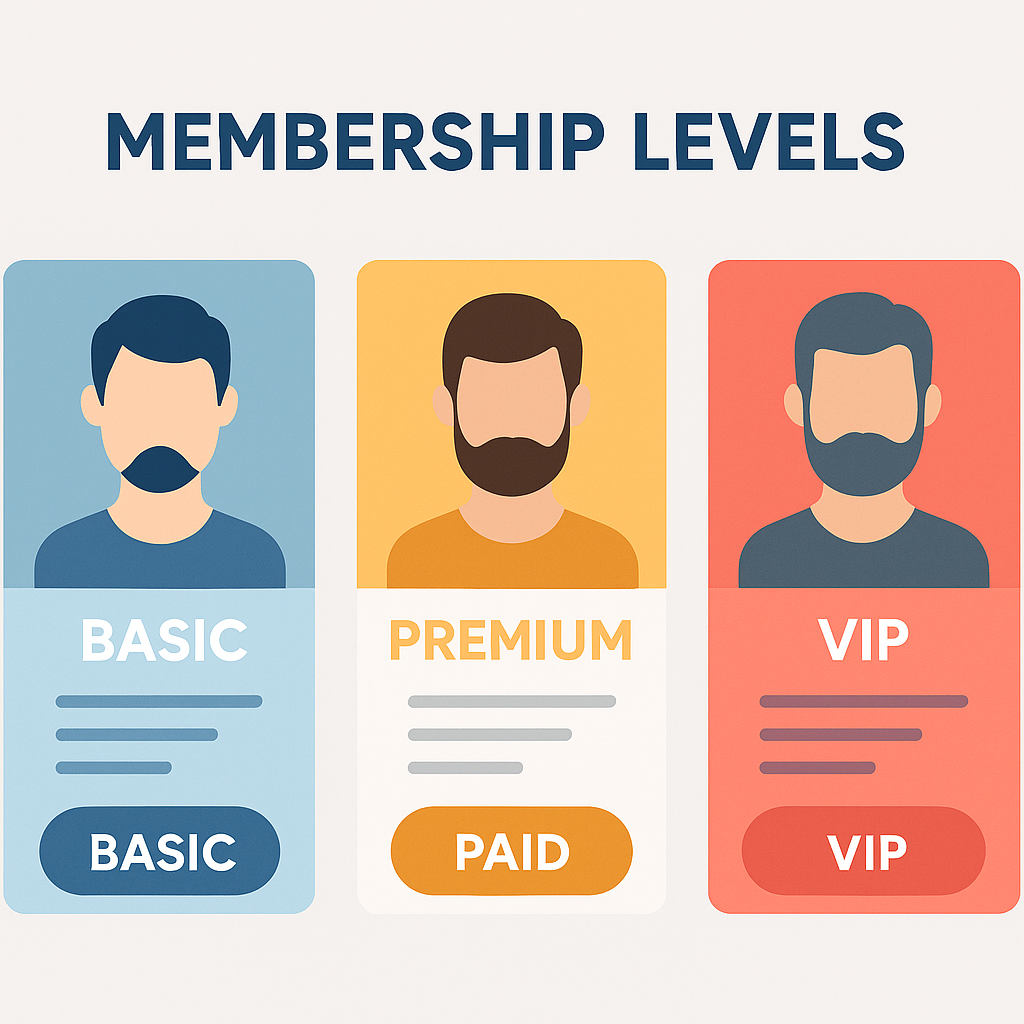
Step 3: Add Membership Levels
Membership levels help you control who sees what content inside your site. You can offer different access based on pricing or user type.
For example, you may want Basic, Premium, and VIP level members. To begin, go to the Access Levels tab in your membership setup.
Click Add Level and give it a name, like “Basic” or “Premium.” Add a short description, so members know what that level includes.

Set the access type as either Free or Paid, depending on your plan. Each level can unlock different pages, videos, or downloads inside your site.
You can add as many levels as your business model needs. Levels also help you grow. Once levels are added, you’ll assign specific content to each one.
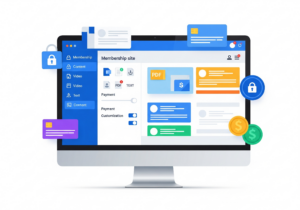
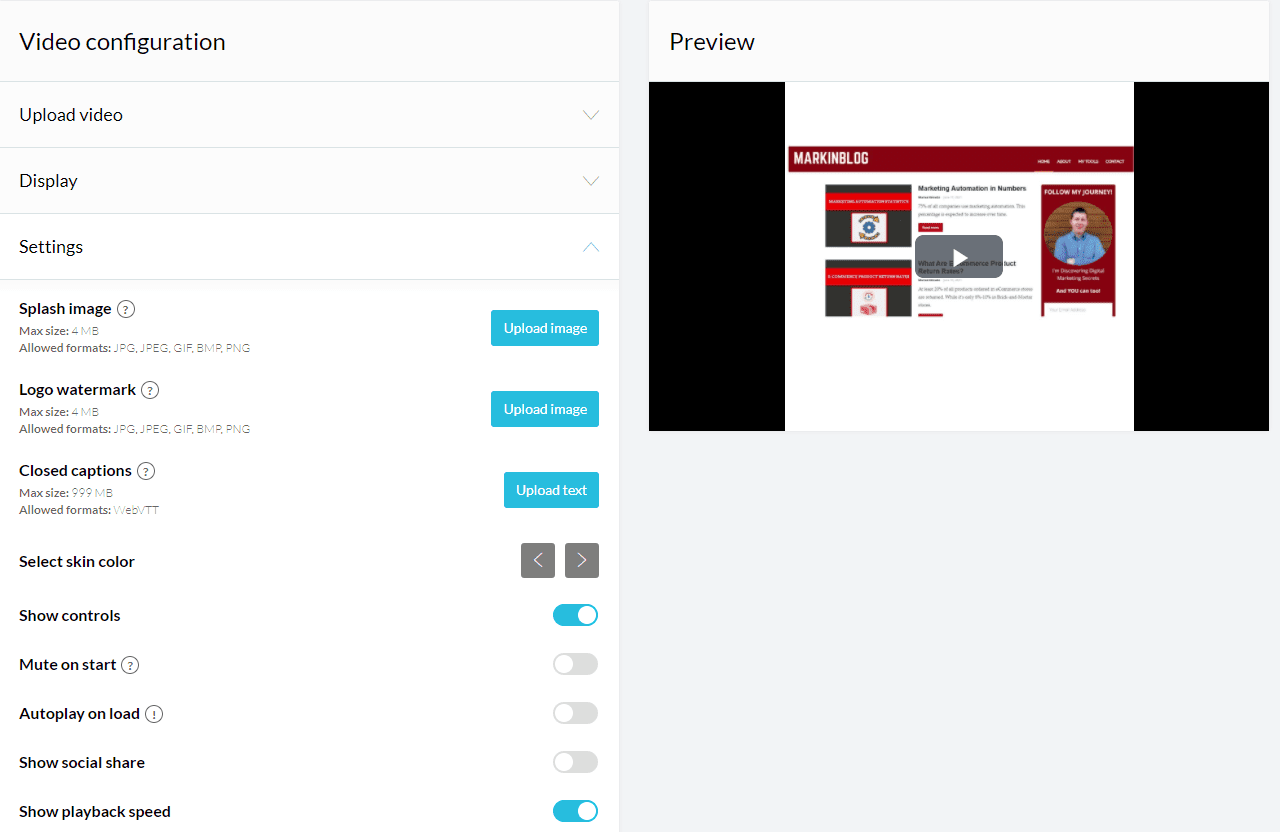
Step 4: Upload Your Content
This is where your membership site starts coming to life. Kartra lets you upload videos, PDFs, audio, or full written lessons. You can organize content by levels and control who sees what.
To start, go to the Content tab in your membership dashboard. Choose a level, then click Add New Post to create a lesson. Now upload your content:
- Video: Upload directly or embed from YouTube, Vimeo, or Kartra Video.
- PDF/Files: Upload files for members to view or download.
- Text Lessons: Write directly in the editor with headings and formatting.
You can even add quizzes, buttons, or call-to-actions if needed. Use the drag-and-drop editor to reorder or arrange lessons easily.
Each post can include a title, summary, and thumbnail for clarity. Be sure to test your content visibility by previewing the level. Once you’re done, save and continue to the next step.
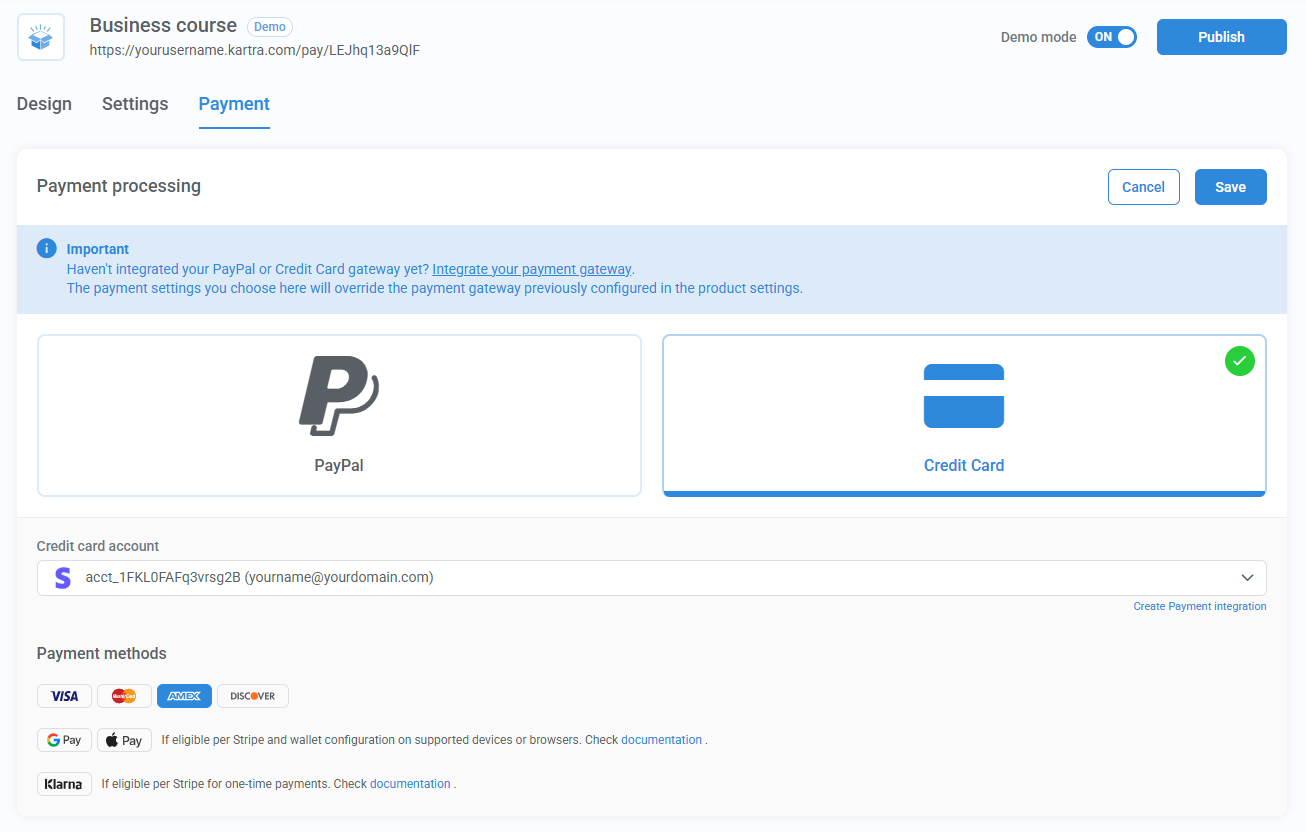
Step 5: Connect Your Membership Site to a Payment System
To charge for access, you need to connect your payment system. It’s easy, as Kartra offers built-in payment integration tools.
Go to the My Products section from your Kartra dashboard. Click + Add Product and choose “Membership” as the product type.
Now follow the steps to name your product and set the price. You can connect Kartra with Stripe, PayPal, or both. Set the payment type as one-time, recurring, or split-pay options.
- One-time: Best for courses or one-off memberships.
- Recurring: Ideal for monthly or yearly membership access.
- Trial + Recurring: Great for offering a free trial first.
Link the product to your site and access level. Kartra will now grant access only after successful payment confirmation. Once done, test the checkout page to ensure everything runs smoothly.
Step 6: Customize Your Membership Site
Now it’s time to make your membership site look great. You can customize everything: colors, fonts, layout, and overall style.
Go to the Membership Builder and open your site for editing. At the top, you’ll see options for design and visual changes.
You can change:
- Colors: Match your brand with custom background and text colors.
- Fonts: Choose from a variety of easy-to-read font styles.
- Layouts: Select how content appears: list view, card style, or grid.
Kartra also offers built-in templates that save lots of time. Just pick one and tweak it to match your site’s style. Templates are mobile-friendly and work on all devices automatically.
You don’t need design skills to make it look professional. Spend a few minutes customizing and it’ll feel like your brand.
Step 7: Publish and Invite Members to Join
Your site is ready; now it’s time to go live and share. Go to your Membership Settings and switch the status to “Live.”
Kartra gives you a direct link to share your site. You can copy this link and send it wherever you like.
Share it in different ways:
- Email: Send invites to your list using Kartra email tools.
- Social Media: Post your link on Facebook, X, or LinkedIn.
- Ads: Run paid campaigns to reach more potential members.
If you set up a payment plan, users pay before joining. After payment, Kartra sends login access automatically and securely. If it’s free, they can sign up with just their email.
That’s it! Your membership site is live and accepting new members now. Keep promoting to grow your community and build long-term income.

Final Tips to Grow Your Kartra Membership Site
Keep your content fresh to make members stay longer and engaged. Add new lessons, videos, or tips every week or two.
Offer surprise bonuses like: Exclusive PDFs, Private coaching, Special discount codes. Host live Q&A or bonus webinars to build more connections.
Send email updates when you publish new content or bonuses. Ask members for feedback and improve based on their answers.
You can also create a referral program or run seasonal promotions. Keep it exciting, and members will keep coming back!