
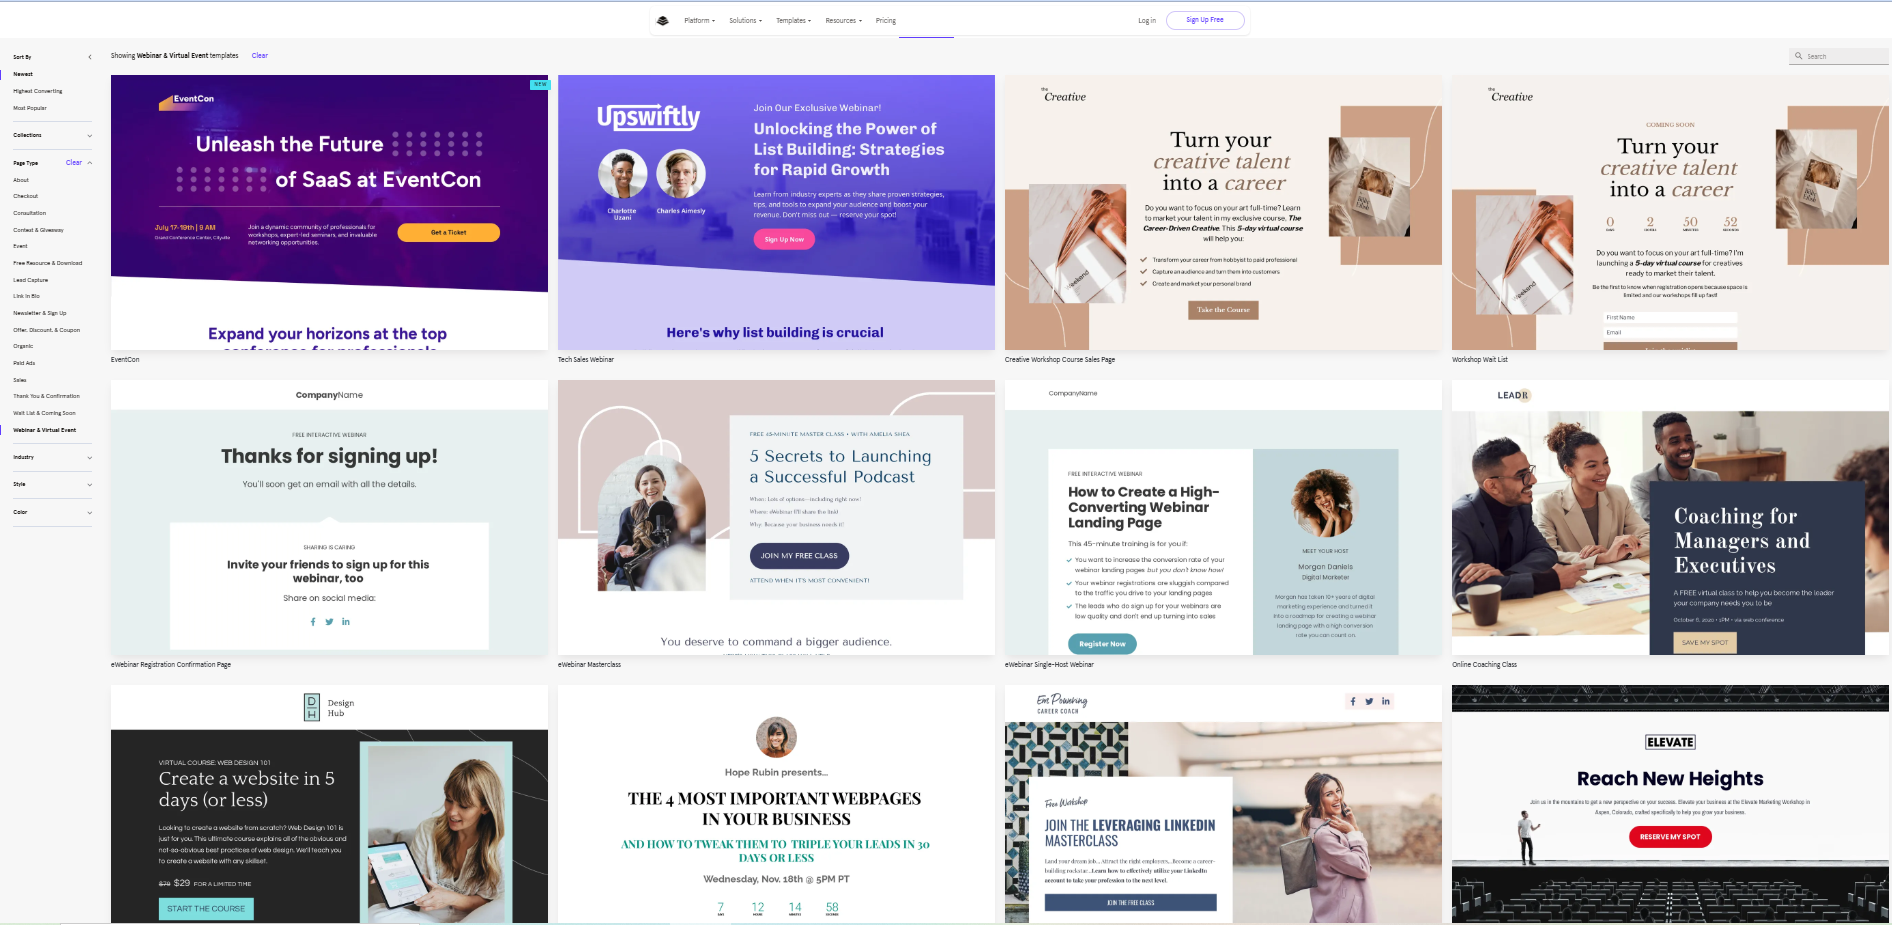
Step 1: Choose a Leadpages Template
A stunning webinar registration page starts with selecting the right template. Leadpages offers a ton of professionally designed templates to capture attention and encourage sign-ups.
Browse the template gallery to find one that matches your webinar’s style. Don’t worry, they’re fully customizable! You can easily swap out colors, fonts, and images to make it uniquely yours.
Look for templates with a clear layout and a prominent call-to-action button. Keep it simple and easy to navigate. These help direct visitors to sign up without distractions.
Once you’ve picked a template, tweak it to suit your needs. Add a compelling headline, brief details about your webinar, and an easy-to-spot sign-up button.
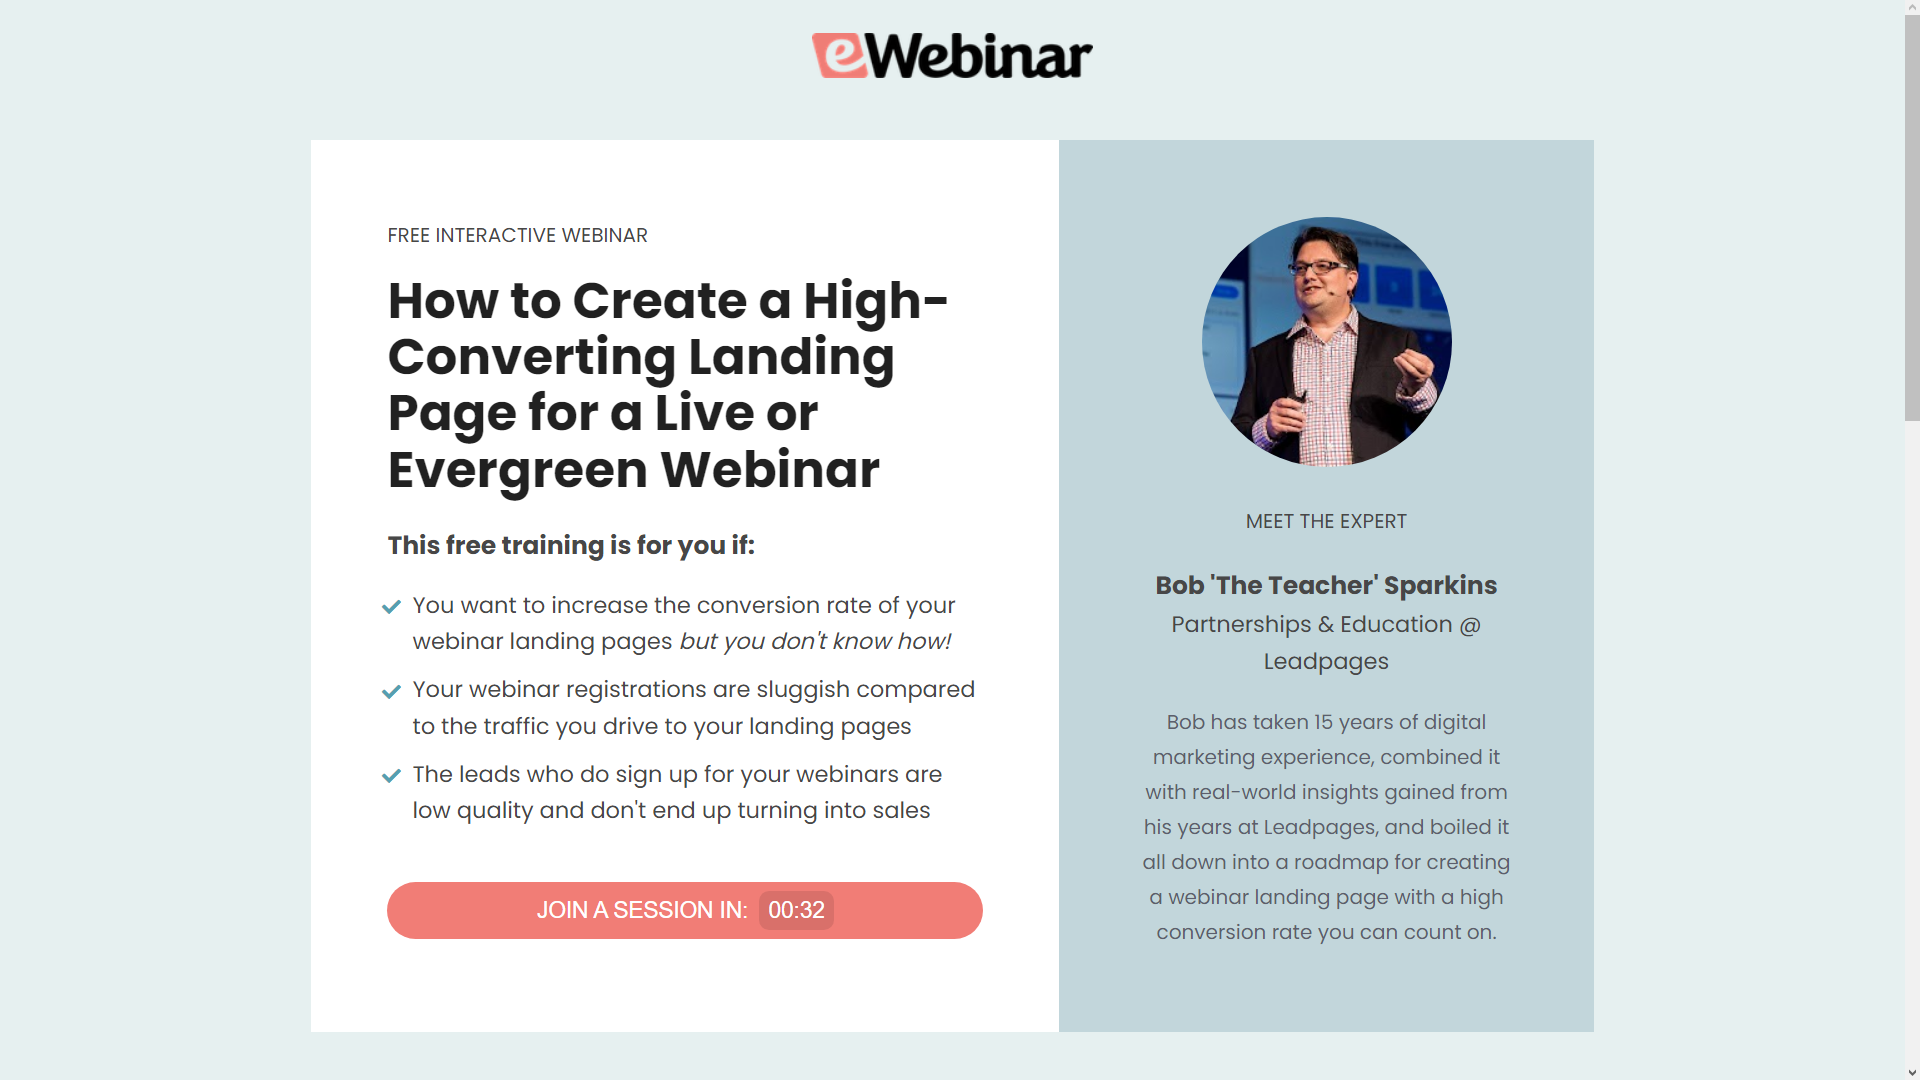
Customizable webinar designs in Leadpages make it easy to emphasize your message while keeping the layout clean.
Whether you’re hosting a small workshop or a large online event, Leadpages ensures your page is both professional and effective.
Step 3: Add Essential Elements
To increase webinar signups, your registration page must include key elements that attract and convert visitors. Each element plays a role in building trust and creating urgency.
Responsive Registration Pages
Make sure your page looks great on all devices. Leadpages automatically optimizes your design for mobile, so users can register on the go.
Compelling Headline and Description
Clearly communicate the webinar topic and its benefits. Use concise, engaging language that sparks curiosity and encourages users to sign up.
Social Proof for Webinars
Show testimonials, attendee counts, or expert endorsements to build trust. Highlight the credibility of your speaker or company to reassure potential attendees.
Webinar Urgency Strategies
Incorporate countdown timers or limited-time offers to create FOMO. Urgency drives users to take immediate action and boosts signups.
Strong Call-to-Action (CTA)
Your CTA button should stand out and encourage action. Use phrases like “Register Now” or “Secure Your Spot Today.”
Focus on these essential elements to create a page designed to engage, inform, and convert. Combine these strategies to ensure more people register and attend your webinar.
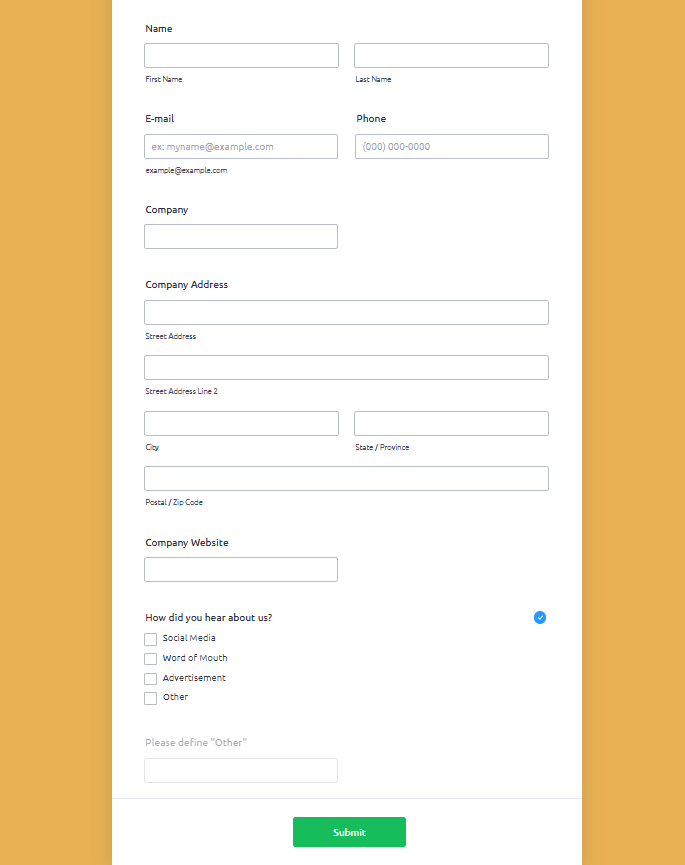
Step 4: Integrate Registration Forms and Automate Responses
Another crucial step in capturing attendee information is adding webinar registration forms. With Leadpages it’s effortless to create tailored forms of your needs.
Add and Customize Registration Forms
In Leadpages, drag and drop the form widget onto your page. Personalize the fields to collect relevant data (names, emails) or questions for webinar. Make the form clean and easy to fill out.
Leadpages Email Integration
Seamlessly connect your email marketing tool with Leadpages. With this, you can securely store and follow-up attendee details easily.
Automate Webinar Signups
Enable automated signups to save time and reduce manual tasks. Once users register, they’re instantly added to your attendee list.
Confirmation Email Setup
Set up confirmation emails to acknowledge signups and share webinar details. Include essential information like the date, time, and a link to join the webinar.
Step 5: Optimize Your Page for SEO and Performance
To maximize visibility and conversions, optimize your webinar registration page for search engines and user experience. Leadpages provides powerful tools to help you achieve this.
Focus on Webinar Page SEO
Use relevant keywords like “webinar registration” in your title, headings, and meta descriptions. Add alt text for images to make your page more search-friendly.
A/B Testing with Leadpages
Experiment with different headlines, images, and CTAs to find what resonates best. Leadpages’ built-in A/B testing feature makes it easy to test and improve your page.
Create Fast Registration Pages
Speed matters! Ensure your page loads quickly to avoid losing potential signups. Leadpages templates are optimized for fast performance on all devices.
Search-Friendly Webinars
Include essential details like the webinar topic, date, and time in your content. This ensures your page ranks higher in relevant search results.
Step 6: Publish and Promote Your Webinar Registration Page
Once your webinar registration page is ready, it’s time to launch and share it effectively. In Leadpages, you can seamlessly publish and promote it for maximum visibility. Here’s how:
- Publish Webinar Page
After finalizing your page, publish it with Leadpages’ easy-to-use tools. Leadpages automatically makes your page mobile-friendly and optimized for all devices.
- Promote Webinar Signups
Share your registration page on your website, blog, and social media platforms. Include the link in your email campaigns and newsletters to drive more traffic.
- Webinar Traffic Strategies
Use paid ads on Google, Facebook, and LinkedIn to target your audience. Collaborate with industry influencers or partners to widen your reach.
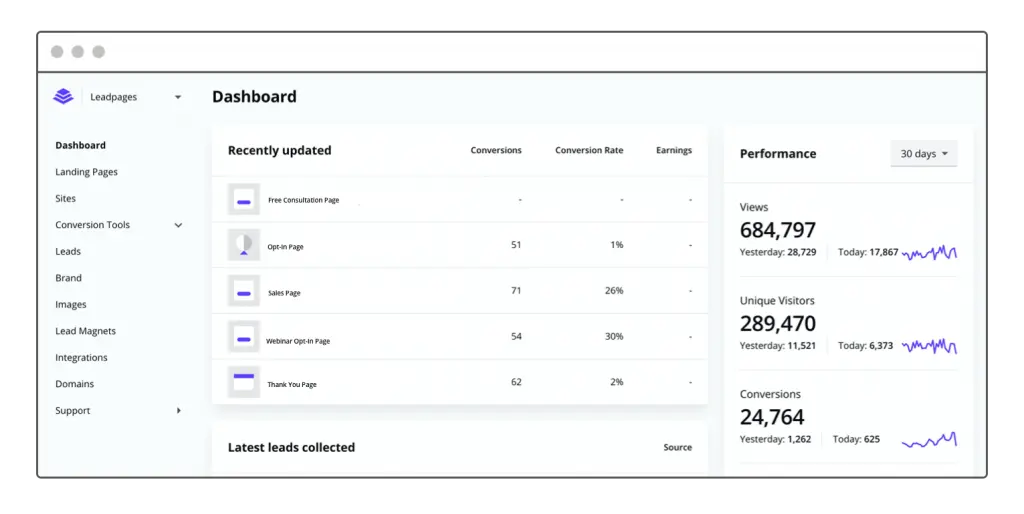
- Monitor with Leadpages Analytics
Track how your page performs using Leadpages’ built-in analytics tools. Analyze views, signups, and conversion rates to refine your strategy for future webinars.
Conclusion
That all wraps it up! Now you know how easy it is to build a webinar registration page with Leadpages. It’s simple to use, from choosing a template to publishing your page.
To make your page even better, focus on these things:
- Social Proof: Show what others are interested in. You can display the number of spots left or testimonials.
- SEO: Make sure your page is easy for search engines to find.
- Mobile-Friendliness: It should look great on phones and tablets.
Track how your page is performing to see what’s working and what needs improvement. Ready to start? Try Leadpages and see how easy it is to create a winning webinar registration page!