
The Importance of Building a Strong Online Presence From Day One
If you run a business, people will look you up. They do it before they call. They do it before they buy. They do it


No coding or technical skills are required to get started today. The drag-and-drop builder helps you design emails in just minutes. It’s a simple but powerful way to start email marketing now.
Let’s explore how to set up your AWeber free account easily. You’ll learn each step needed to launch your first email campaign.
AWeber is an email marketing tool for businesses and content creators. It helps you send emails, build lists, and grow your brand easily.
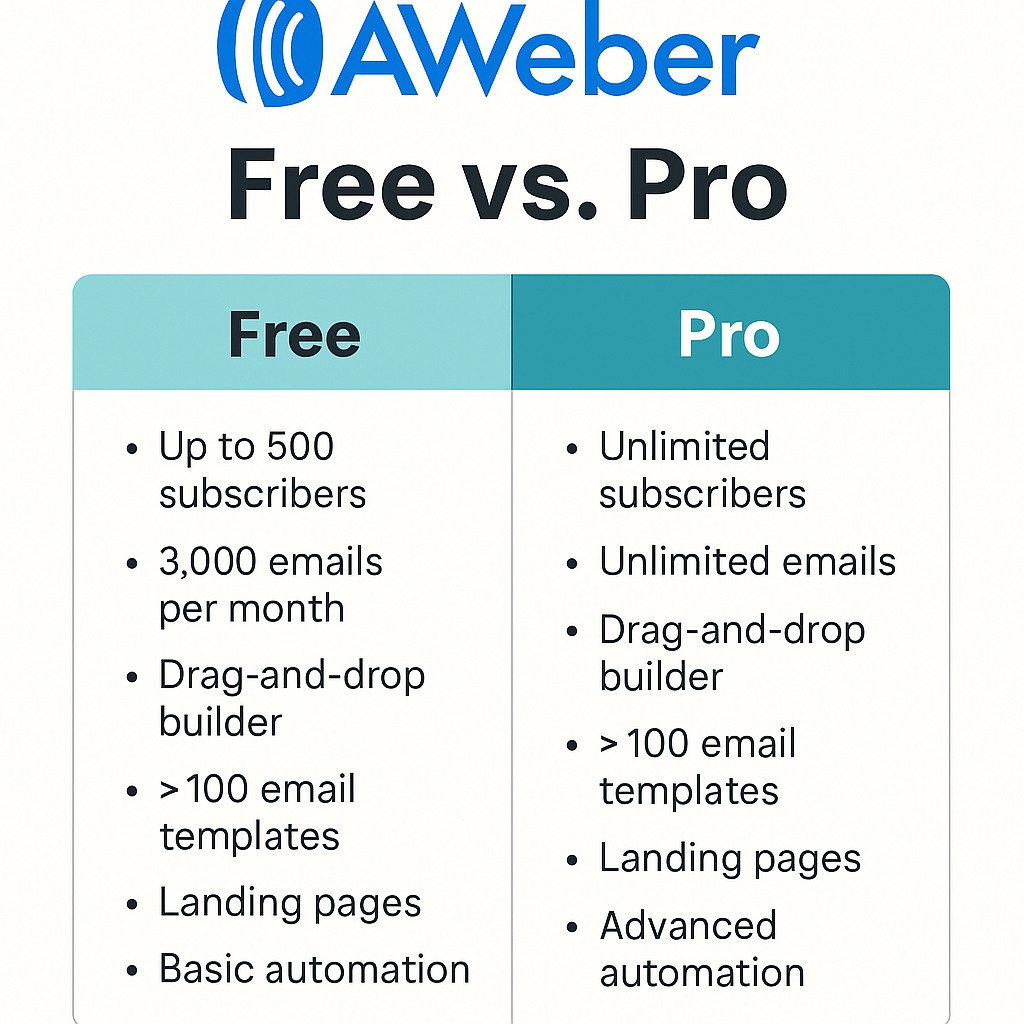
The free plan is great for anyone just starting with email marketing. You can use it without any credit card at the start. It gives you enough features to learn, test, and grow your list.
Key features in the free plan include:
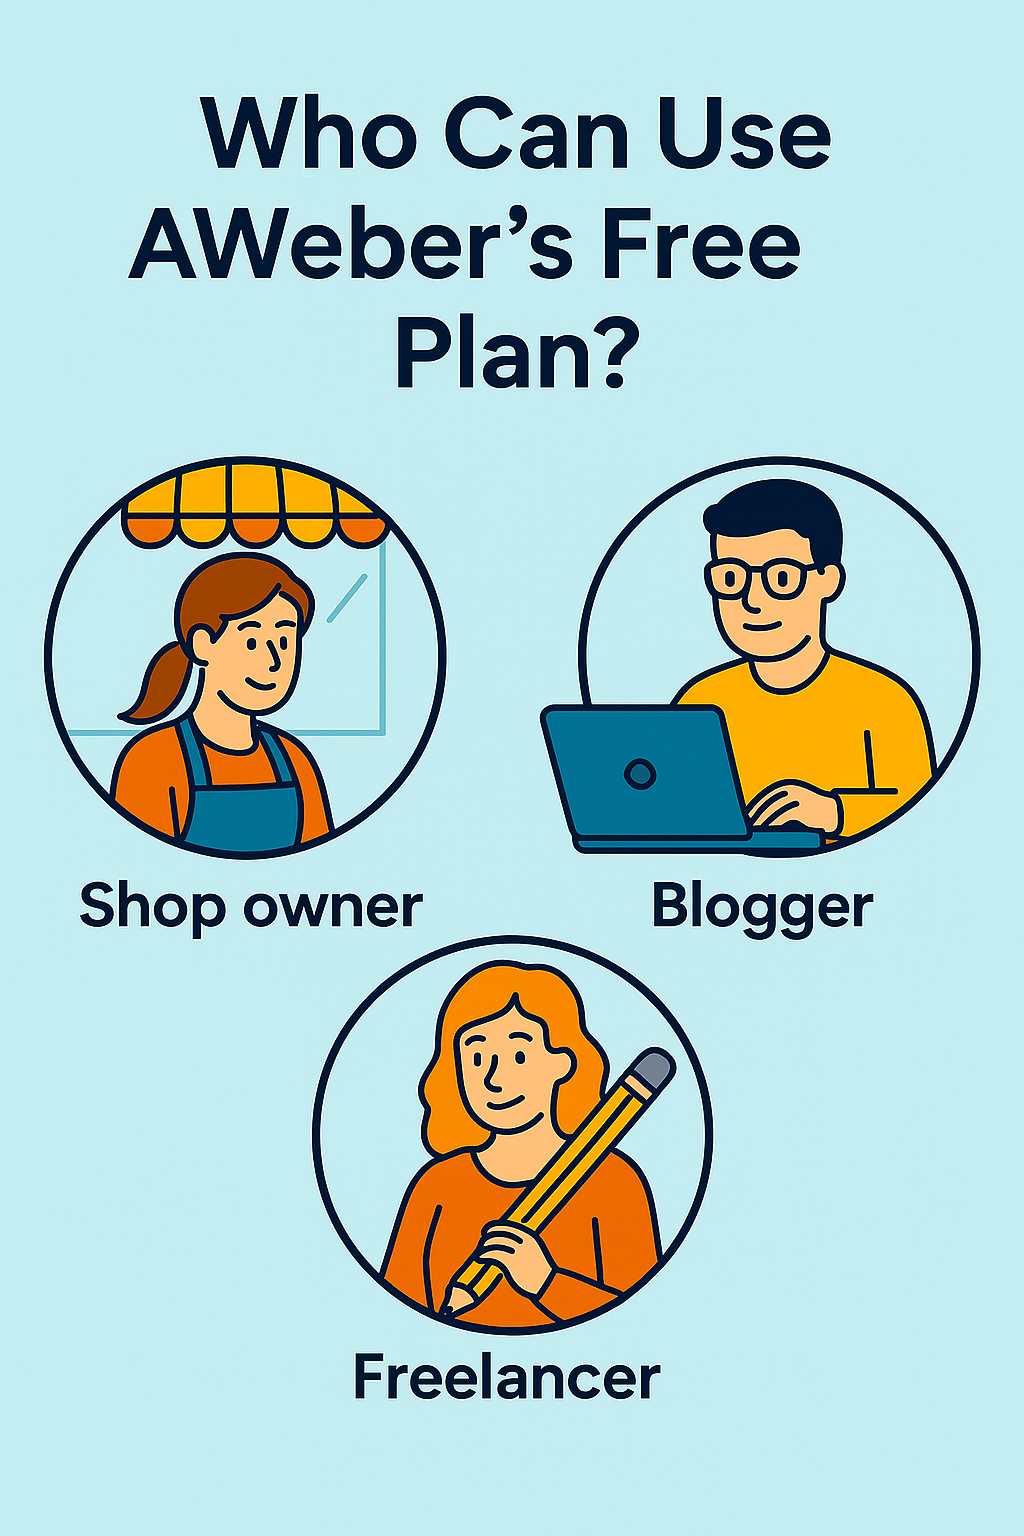
It’s perfect for bloggers, freelancers, and small business owners. With AWeber, email marketing is easy and budget-friendly from day one.
AWeber’s free plan is perfect for anyone just starting with email. It gives you the tools to grow without spending money upfront. SMB owners can use it to reach their first customers.
Bloggers can send updates and build a loyal reader community fast. Freelancers can promote services and stay in touch with past clients.
It’s ideal if you’re new to email marketing and need a start. You don’t need tech skills or design experience to make it work.
All templates are ready to use, and setup only takes a few minutes. You’ll also get reports showing who opened and clicked your emails.
This plan is great for:
If you’re unsure where to begin, AWeber’s free plan makes it simple.
Starting with AWeber is quick and takes just a few minutes. Here’s a brief step-by-step procedure to create your free AWeber account.
Step 1: Visit the Website
Go to aweber.com from your browser.
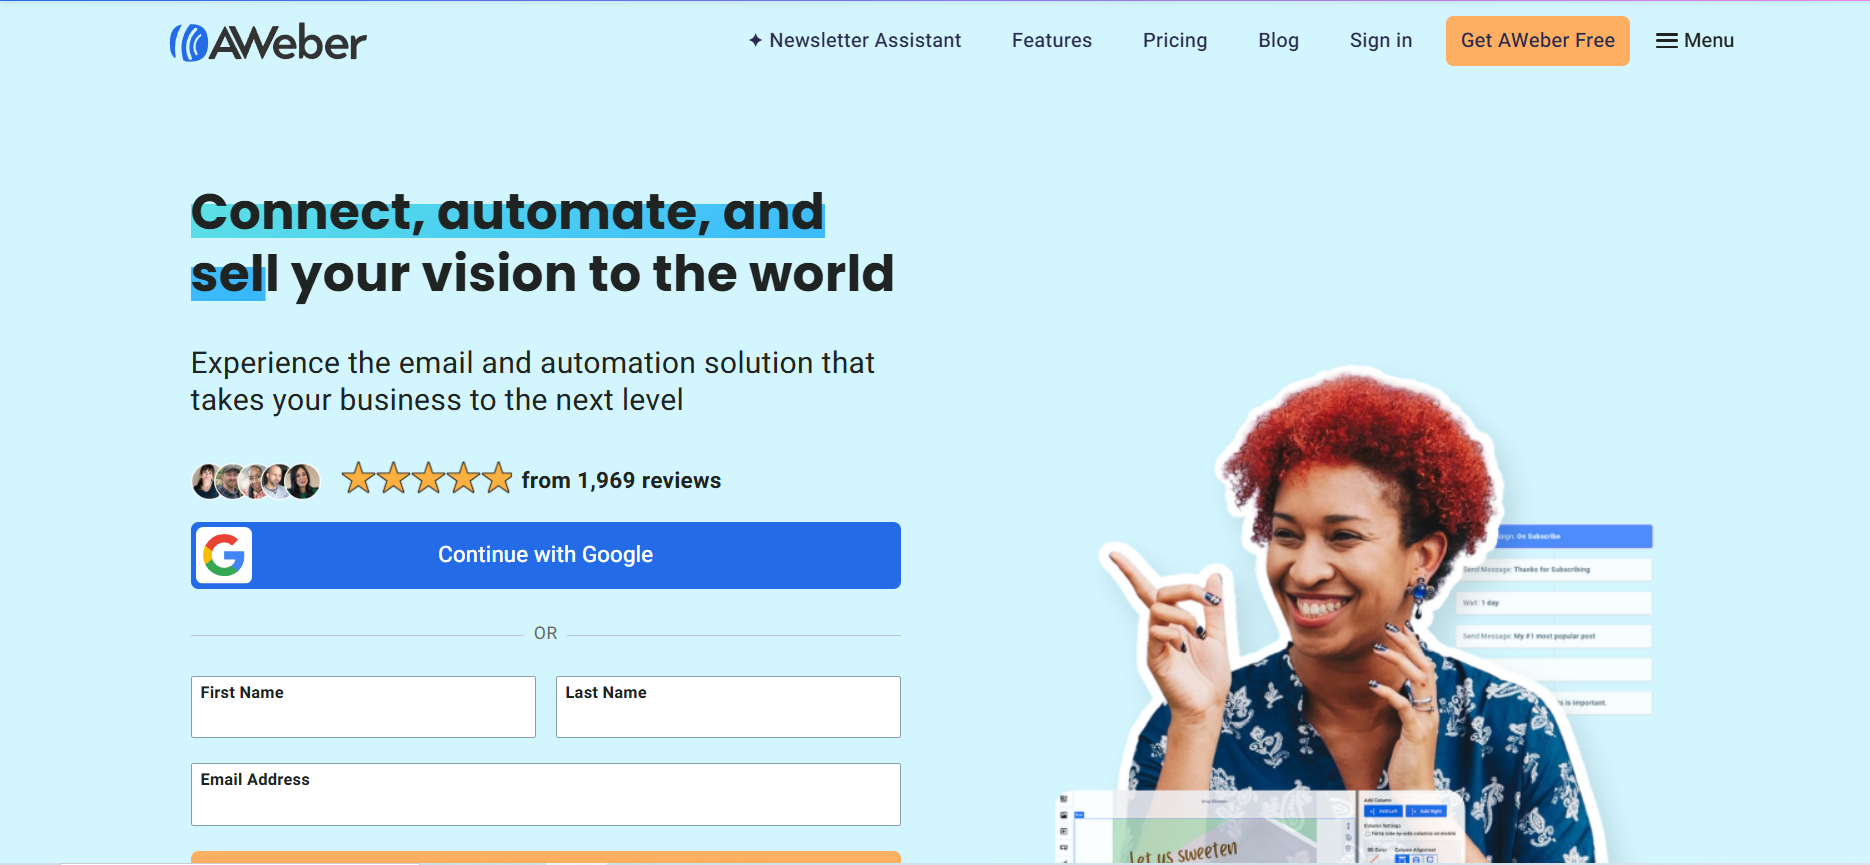
Step 2: Click “Start for Free”
You’ll see the “Get AWeber Free” or “Get started for free” button on the homepage. Click it to begin.
Step 3: Fill in Your Details
Enter your full name, email address, and a strong password. Or you can click on the “Continue with Google” button to start the proceedings.

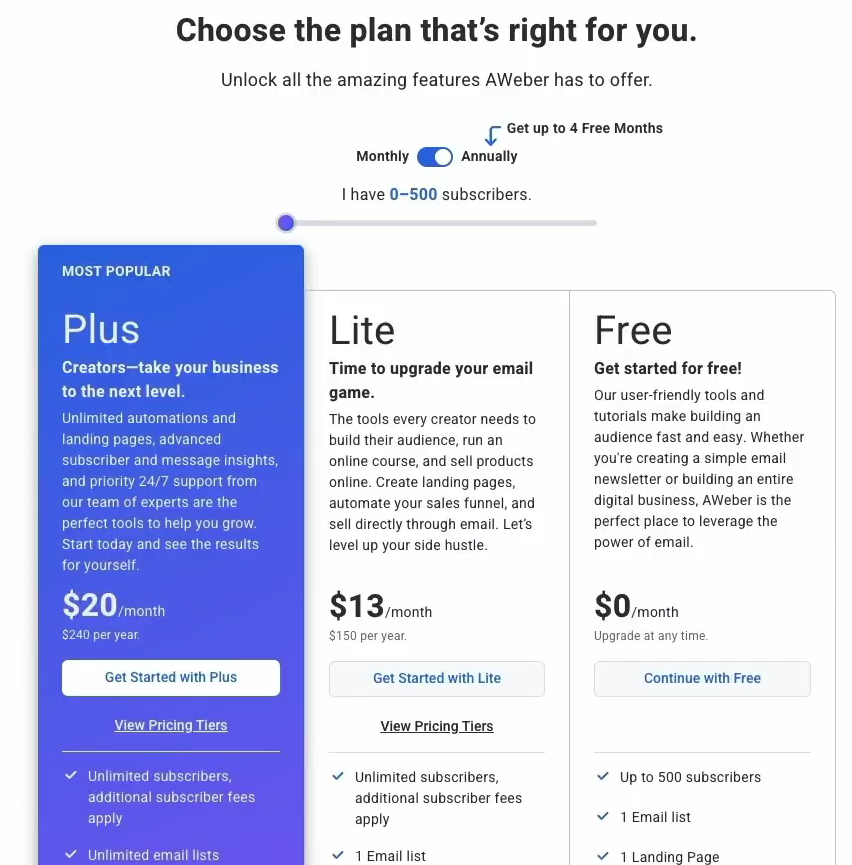
Step 4: Choose your Plan
Now, head over to the pricing or plans section. As we are going through the free account, so, click on the “free” option.
Step 5: Add Business Information
Enter your business name or personal name if you’re solo.

Step 6: Add a Website or Placeholder
Type your website. If none, use a placeholder or leave blank.
Step 7: Enter Your Address
Add a valid mailing address. It appears in every email.
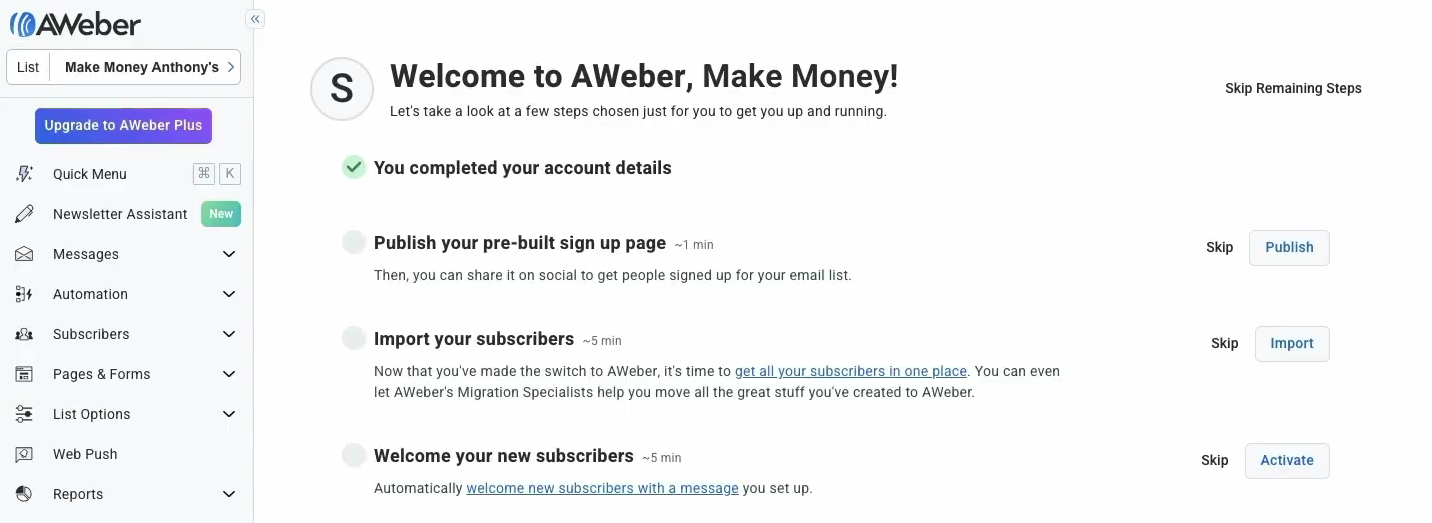
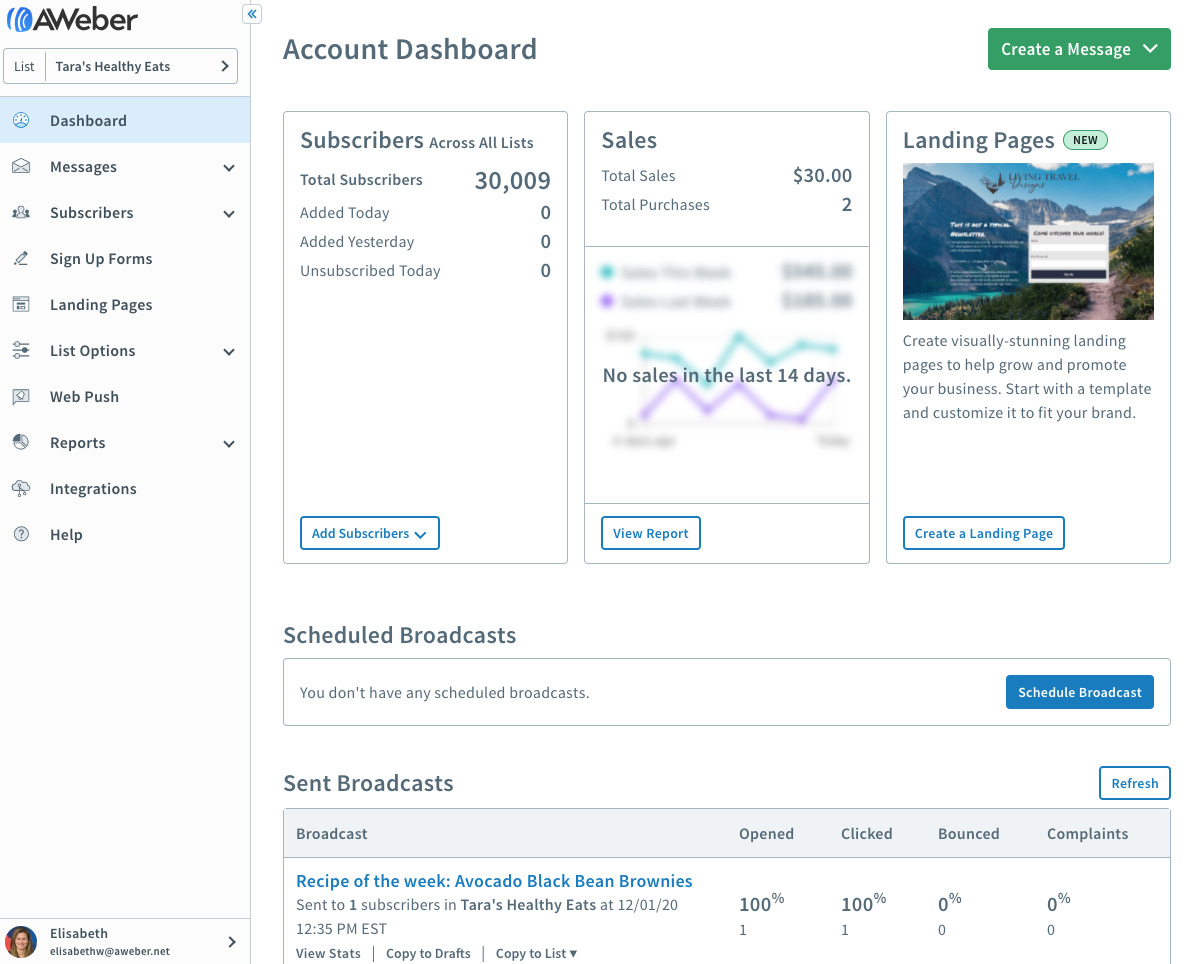
Step 8: Confirm and Access Dashboard
Once submitted, you’ll land on your AWeber dashboard. You’re all set!
Once you’re inside your AWeber dashboard, you can set up your list.
Step 1: Click “Create a List”
You’ll see this option on your main dashboard screen.
Step 2: Name Your Email List
Choose a name that fits your brand or business topic.
Step 3: Add a Sender Name
Use your full name or your business name here.

Step 4: Add a Sender Email Address
Use a real email address you check regularly.
Step 5: Write Your List Description
This tells people what kind of emails they will receive.
Step 6: Set a Welcome Message
AWeber lets you create a simple welcome email automatically.
Step 7: Save and Finish
Click “Save” to confirm everything and your list is ready.
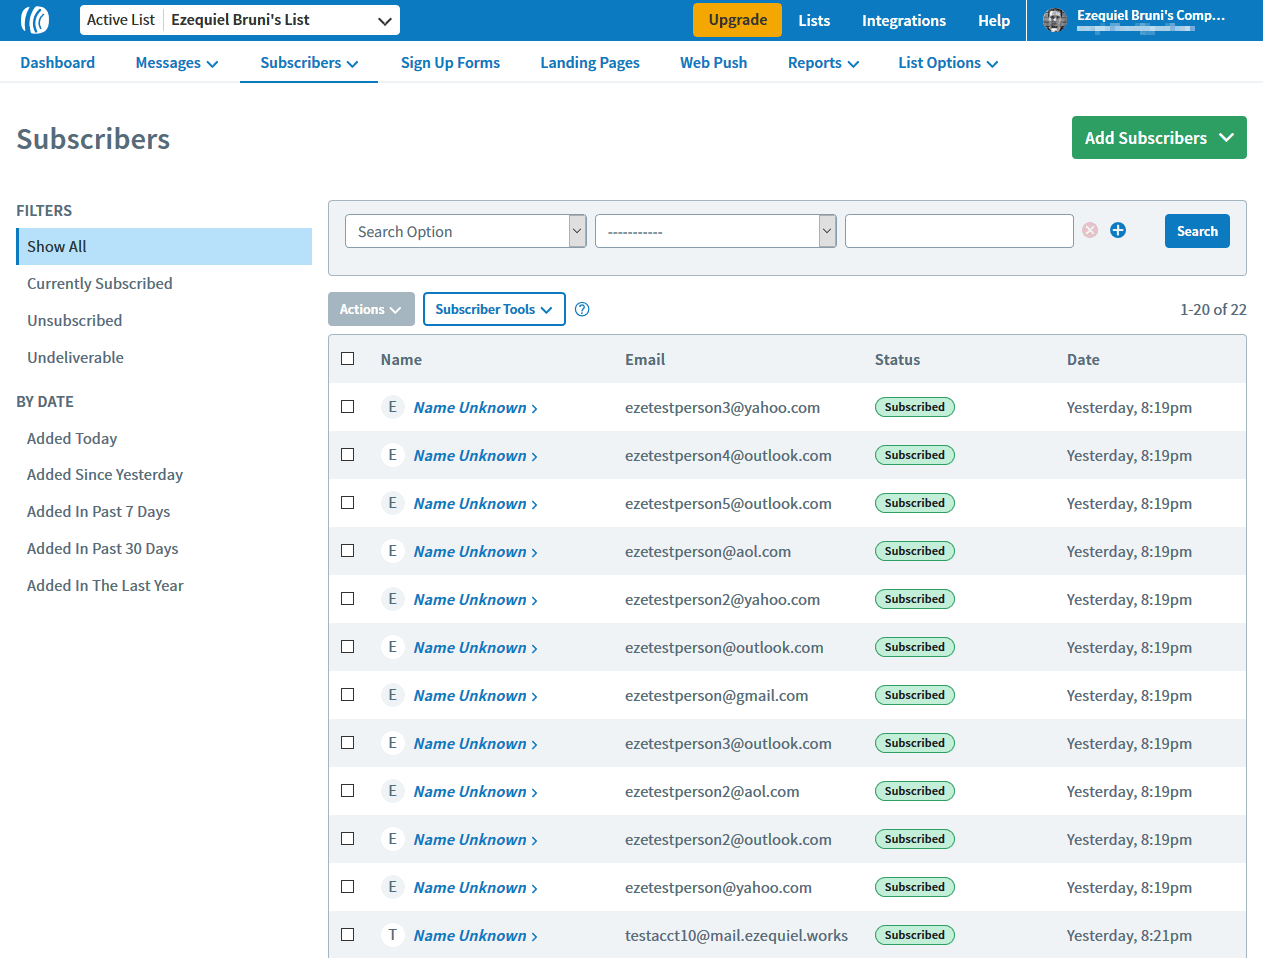
Now you’re ready to collect subscribers and start sending emails!
After setting up your list, it’s time to send your first email. Here’s how:
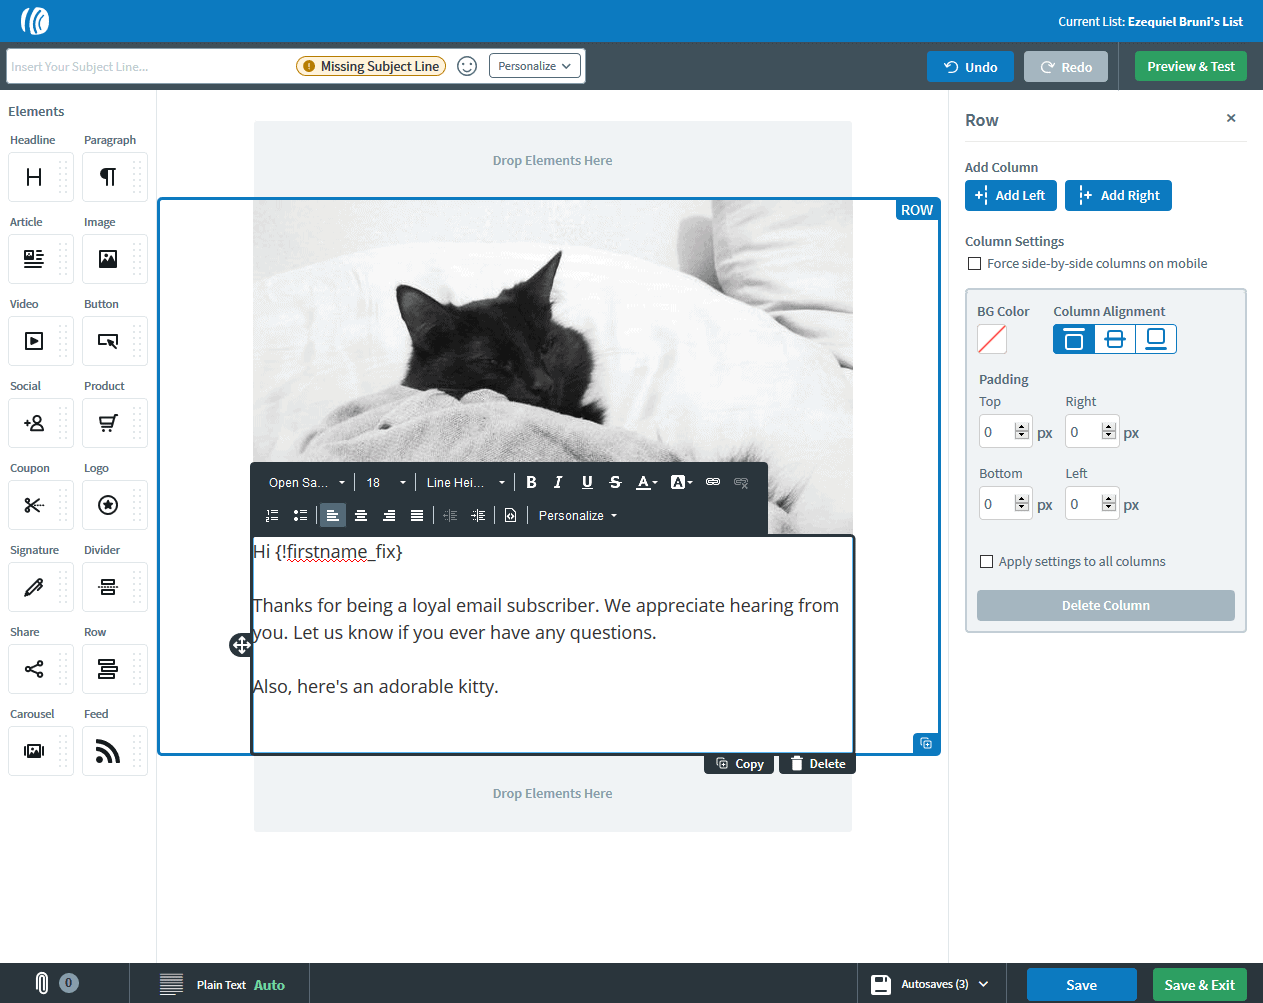
Go to your AWeber dashboard and click “Create a Message.” Choose the drag-and-drop builder; it’s simple and beginner-friendly. You’ll see blocks for text, images, buttons, and more.
Start by typing your subject line at the top of the screen. Then, drag a text block and write your message in it. Add images, links, or call-to-action buttons if needed.
Keep your message short and helpful for your readers. Once done, click “Preview” to see how it looks. Happy with it? Now click “Schedule” or “Send Now.”
Choose the time and date to send the email. Finally, click “Send Message” and AWeber handles the rest. You’ve now sent your first email campaign using AWeber for free!
AWeber’s free plan gives you powerful tools without any cost. It’s perfect for beginners who want to grow with email marketing. You get access to almost all the tools the pros use.
Here’s what the free plan includes:
It’s enough to start your email journey with confidence!
AWeber’s free plan is perfect for beginners and small business owners. You can send emails, grow your list, and stay in touch easily.
It helps build trust, boost engagement, and increase your sales too. You don’t need a credit card to start using the free plan. You get access to great features like automation and landing pages.
AWeber makes it simple to design and send your first email. It’s beginner-friendly with drag-and-drop tools and ready-made templates.
If you’re new to email marketing, AWeber is a smart choice. The free plan gives enough tools to launch and grow faster. Start now and see how email marketing helps your business grow.

If you run a business, people will look you up. They do it before they call. They do it before they buy. They do it

Entrepreneurship is often portrayed as action-driven. Build faster. Launch sooner. Execute relentlessly. While action is essential, action without informed thinking often leads to unnecessary mistakes.

Marketing is often one of the most intimidating parts of starting an online business. New founders are quickly exposed to complex strategies, unfamiliar terminology, and
